To create an outgoing document, open the Correspondence application and select the OUTGOING view. Click the CREATE NEW DOCUMENT button.
Select the type of correspondence.

In the BASIC DATA tab, click FULL CONTRACTOR NAME to assign a contractor to the correspondence.

Search for the contractor in the database using the selected parameter.

Once the contractor is selected, their information will automatically fill in the remaining contractor-related fields. You can edit these details if necessary.

To assign a location and contact person, click the button and select the appropriate entry (or multiple entries from a multi-select list).

Similarly, you can assign values to the following fields: Document type, Document source, Document confidentiality, Responsible person, Client manager, Department, and Notified persons.

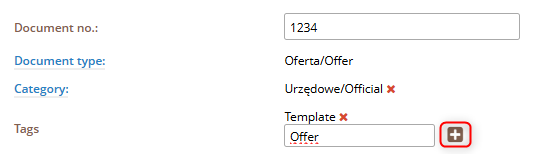
Enter the document number and TAG. To confirm the TAG, after entering the value in the field, approve it using the “+” button.
To add authorized users to the document and mark them to receive notifications, check the box and select users from the list.


If you want to link a document from another application with the correspondence document, click the “+” button in the ADDITIONAL DOCUMENT RELATIONS section.

Select the application and the document from the chosen application.
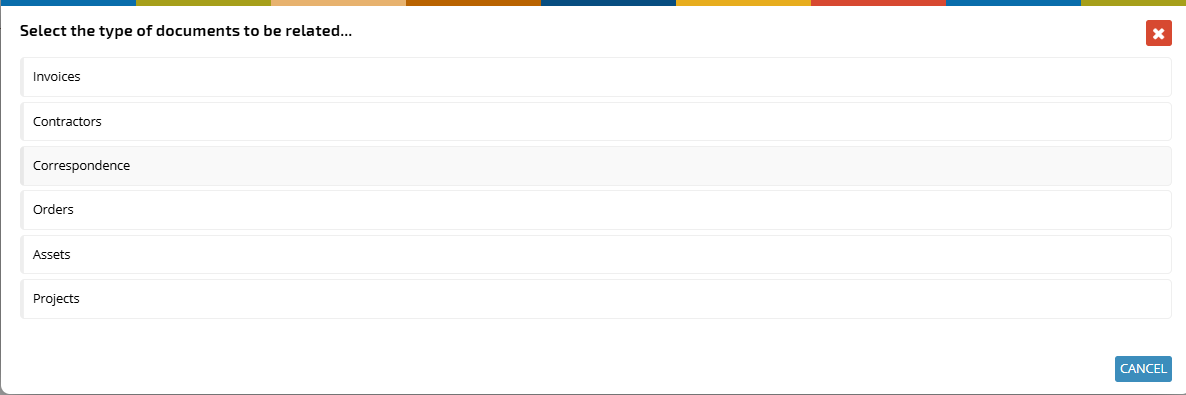

The selected document will be linked to the correspondence.

In the DOCUMENT DETAILS tab, in the DOCUMENT DETAILS section, enter the subject and content. You can fill in the fields after adding the correspondence document as an attachment. More information on this can be found in the related article.

Wprowadź daty początku i końca obowiązywania dokumentu. Kliknij ikonę kalendarza i wybierz datę.

Enter the start and end dates of the document’s validity. Click the calendar icon and select the date.


If the document should have no time limits, check the box next to the relevant date.

To add a document as an attachment, click the +ADD ATTACHMENTS button and upload the file.
