In the checkboxes tab, you can configure the way the data is displayed, as well as the items in the checklists for employee data and employment details.
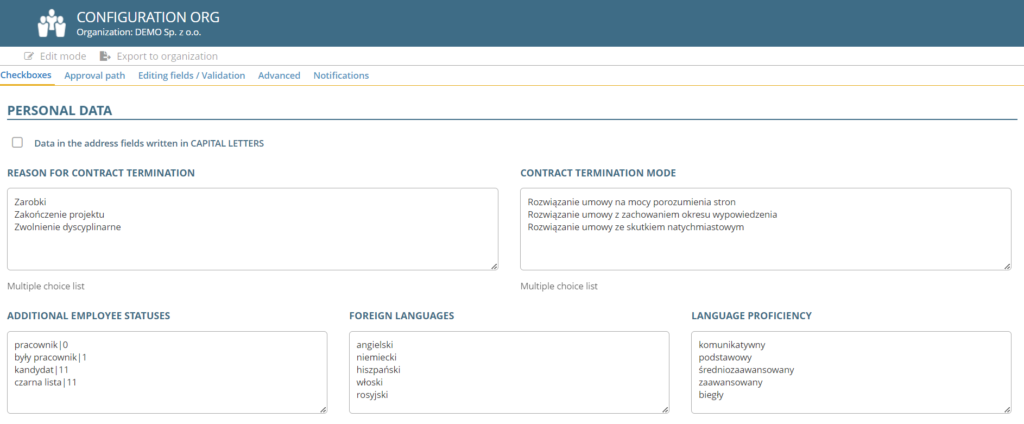
PERSONAL DATA
In the PERSONAL DATA section, you can configure parameters for the employee’s profile. If you want the address data in the profile to be displayed in capital letters, check the box:
To configure the possible reasons for termination and the mode of termination, complete the fields below, and select the display of options.

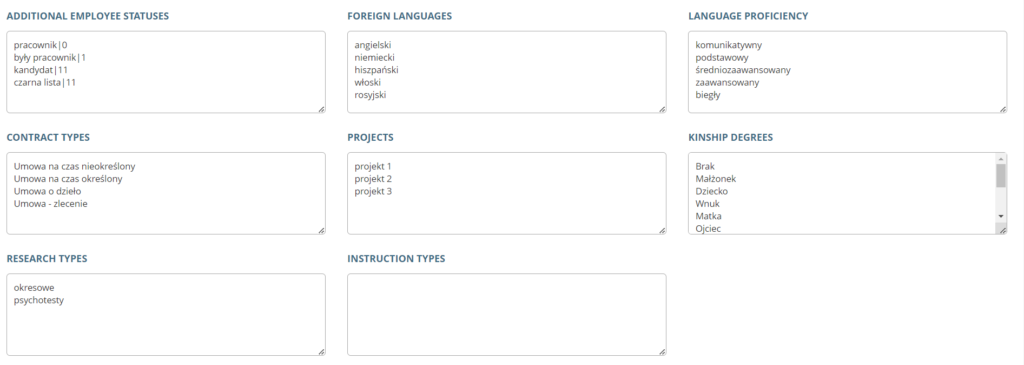
In the PERSONAL DATA section, you can also enter data for groups of information such as:
-additional employees statuses
-foreign language and degree of language proficiency
-contract types
-projects
-kinship degrees
-research types
– instruction types
Country availability in addresses
The section is used to limit the selection of countries in different addresses. The default is set to select all countries.

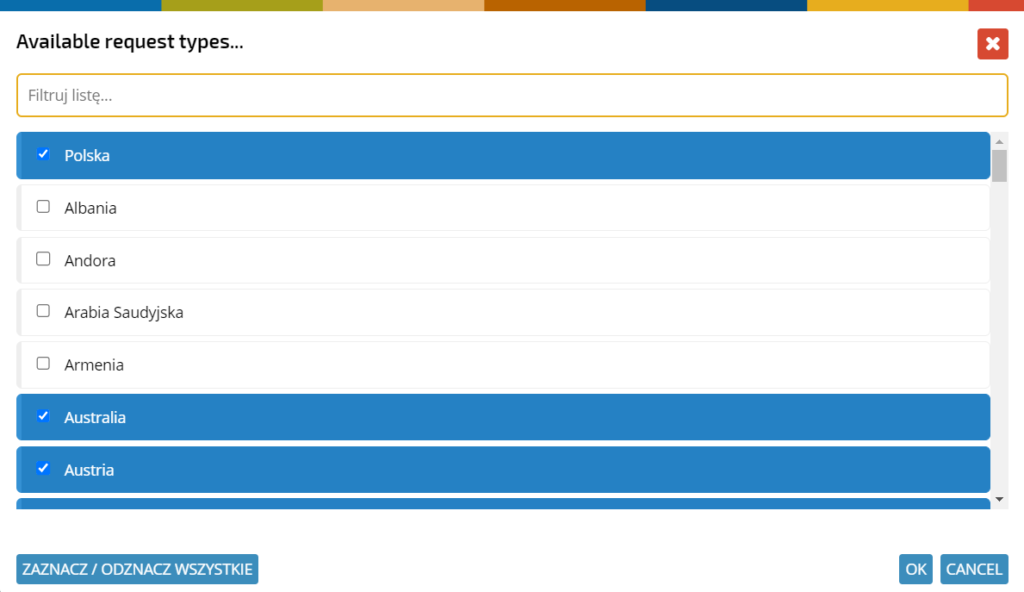
To limit the selection, click on the selected address

and mark the appropriate countries on the list. The countries are in alphabetical order, except for Poland, which is always at the top of the list.
The selected countries will appear in the list.

Declarations
The section is used to enter the content of declarations that are displayed in individual documents.
Employment structure elements
In this section you can configure items such as:
-departments
-units
-sections
-teams
-subteams

To select a specific item, click on the tab assigned to it:
To add a new selected structure element, click the “+ Add…” icon.

Fill in the text fields:
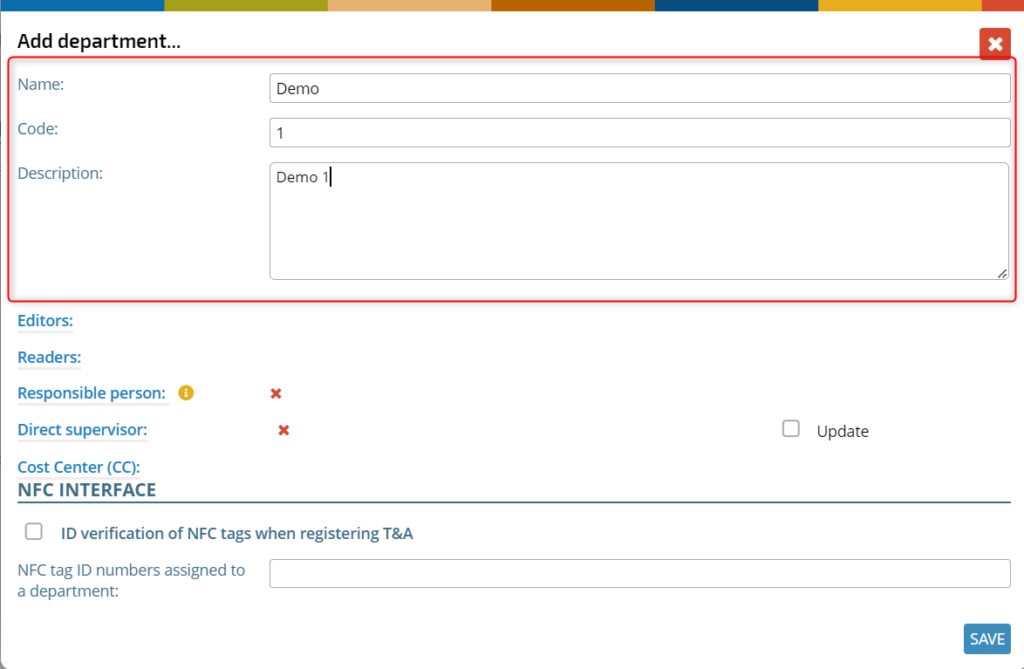
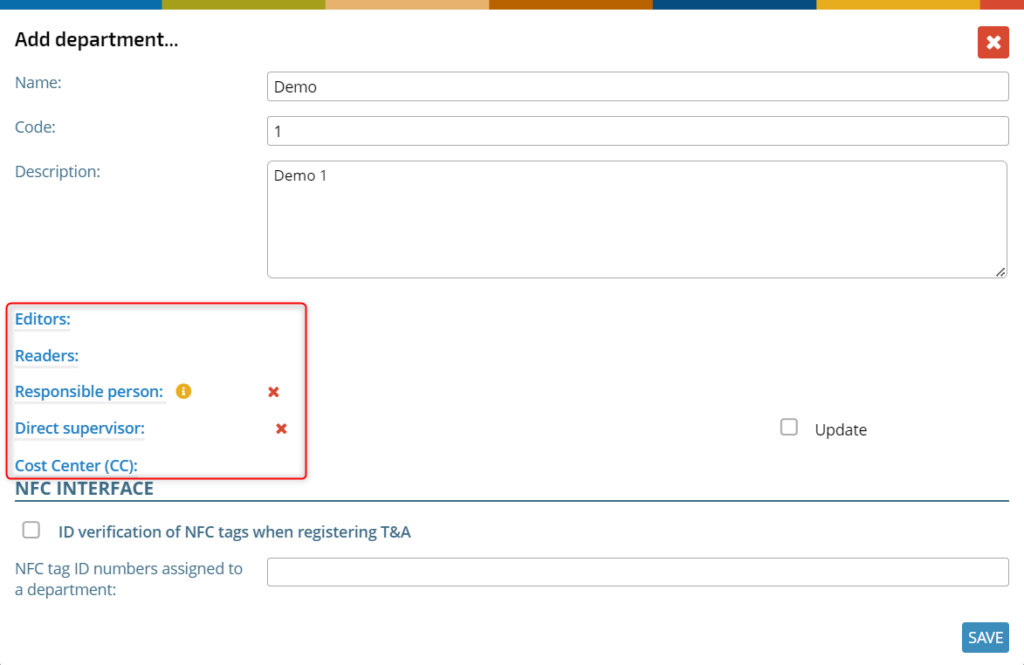
and assign editors, readers, responsible persons, direct supervisor and CC. Click the assigned item
Select the correct person from the list and confirm with OK button.

In case you want to edit the finished item, make the relevant changes and update it by clicking the UPDATE button.

To delete an item, click the DELETE button, or MODIFICATION HISTORY to view the history of changes.
If your company uses NFC readers to record actual working time, you assign NFC tag IDs in the following field

Changes to the rest of the structure are executed similarly.
ELEMENTS IN EMPLOYMENT DOCUMENTS

In this section, you can configure items such as:
CC
To add a new CC, click the + icon

Enter the data in the displayed window, To add a responsible person click on the link and select a person from the list.


You can enter the other elements in a similar way:
Grade category

Position

Position type

Location

Analysis
Work model
The work model document is a bit more complex. First of all, enter the data
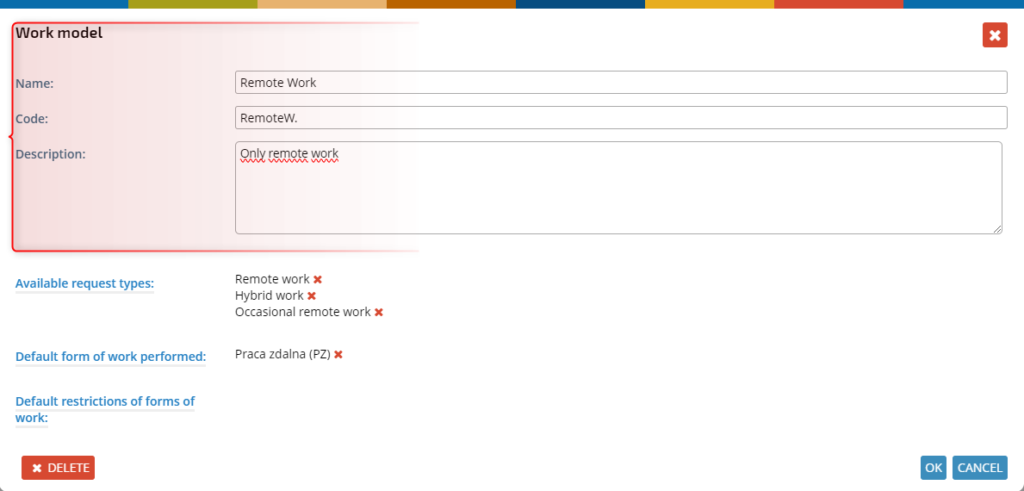
If necessary, you can select:
Available request types for employees with a particular work model

Clic on the link, select your choice from the available types of request and confirm

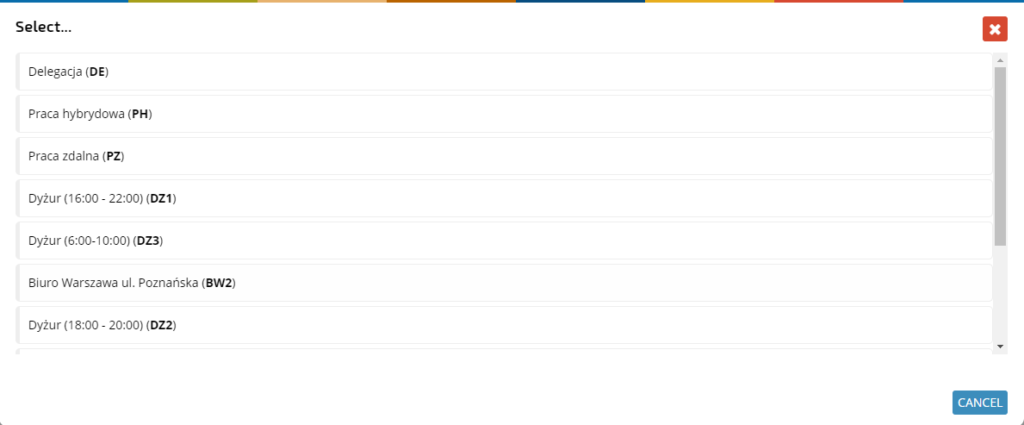
Default form of work performed automatically assigned to employees with a particular work model

Click on the link, select the relevant form from the list.
Default restrictions on the forms of work performed – these are the default FWP restrictions assigned to a given work model, you can read more about this in the article: Restrictions of forms of work performed. To add any of the restrictions, click the link
Select the relevant restriction from the list and confirm.

REQUESTS TYPES
In the equest types, you can add new or edit existing employee requests, such as company benefits, insurance, employment certificate request and many others (You can read more about them in the Employee Requests article ). To add a new one, click the + icon or on the relevant item in the list to edit.

Fill in the fields: NAME, DESCRIPTION and INSTRUCTIONS FOR COMPLETING THE REQUEST.
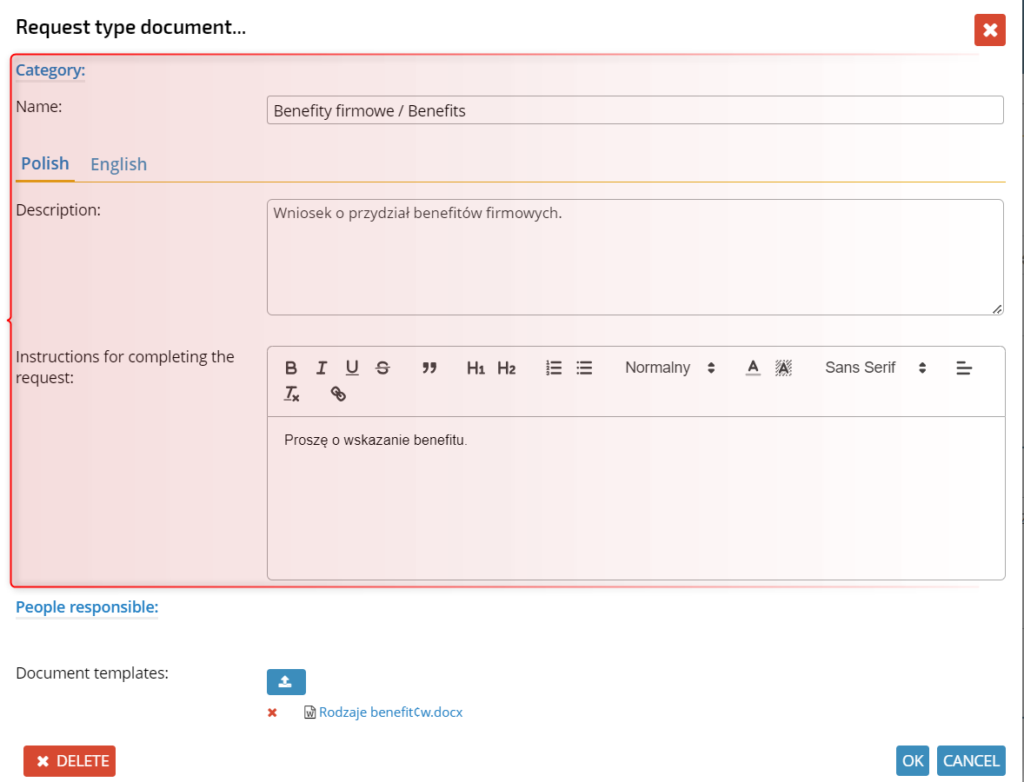
If necessary, you can add responsible persons. Click on the link,

Select the person from the list and confirm with OK button.
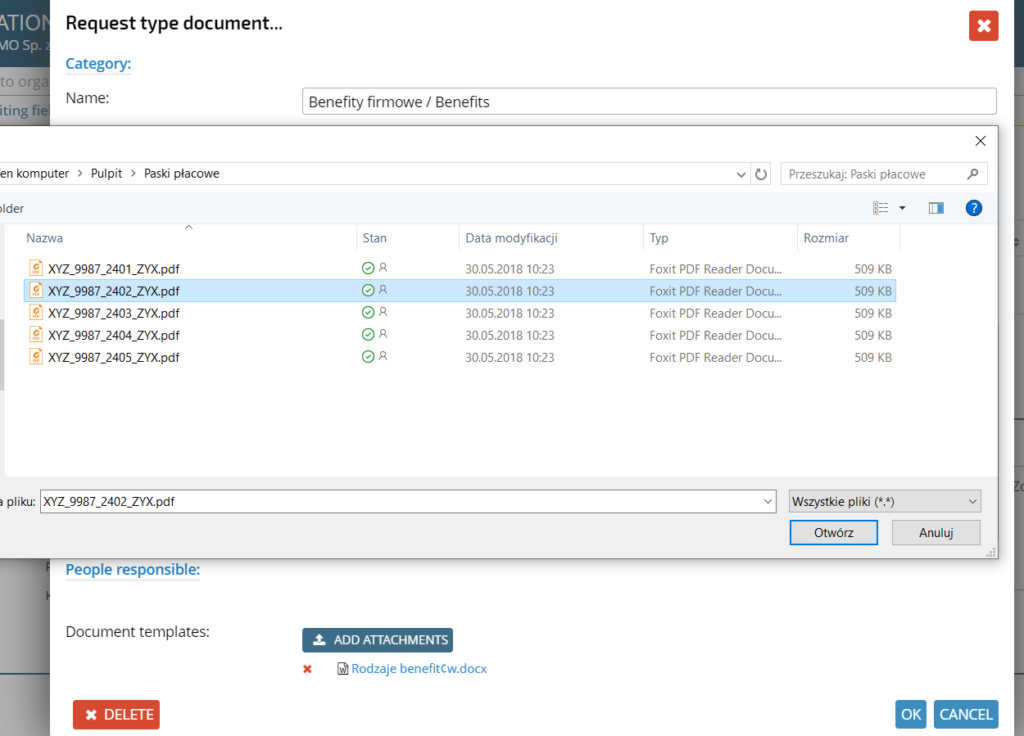
You can add an attachment by clicking on the ADD ATTACHMENTS button.

Select the attachment and click OK.
TYPES OF RELATED DOCUMENTS
In this section, you can add different types of documents related to the employee’s profile. This can include a contract addendum, a medical certificate of ability to perform work, a certificate obtained after health and safety training, and others.

To add a new document, click the + icon or on the selected item in the list for editing.
Fill in the fields CODE and NAME
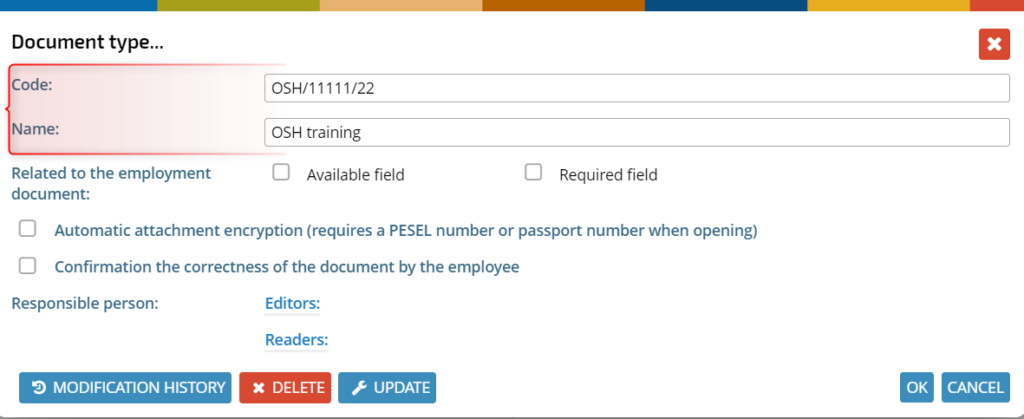
You can check the option to make the related document field available or required in the employment document. Checking the automatic encryption of the attachment, will require the employee downloading or opening the document to enter his/her PESEL or passport number. Activated document validation, will require confirmation by the employee. By clicking on the EDITORS or READERS field, you can give access rights to people who will be able to edit or just view the documents.
WORK HOURS
In this section, you can select the default working hours and make custom settings by entering the start and end times of the day, or setting as a day off.
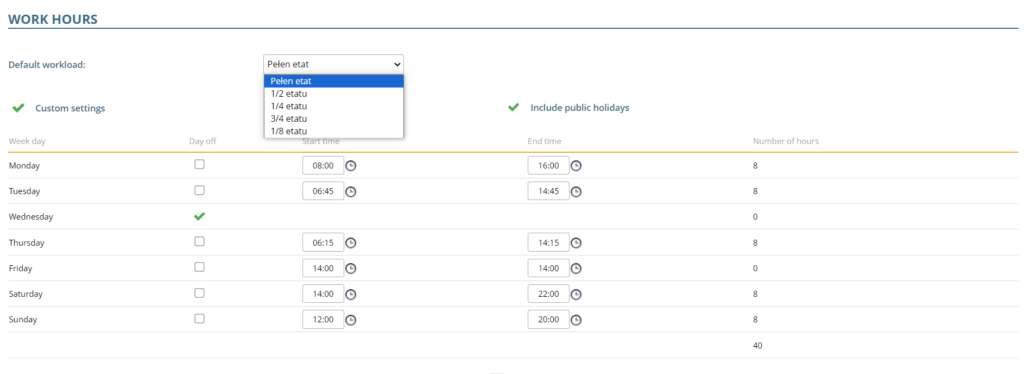
To add a new default working hours, click the plus icon,

Fill in the data in the displayed window and confirm with SAVE button.

USER SELECTION LIST FROM HR
In this section, you indicate on which permissions you want the selection lists of employees from the HR application to be displayed in each location of the system. There are several of the options to choose from:
All users – a list of all users defined for a particular company
Users from the scheme – a list of users assigned to a specific access rights scheme
Users from the department – a list of users assigned to a specific department
Users from the user department – a list of users assigned to the same department as the user’s department
By access rights – a list of users to which the user has access

REQUESTOR SELECTION LIST
In this section you specify on which access right you want the selection lists of the requestor from the HR application to be displayed in each location of the system. You can choose from several of the options:
Default
Everyone
User department

CALENDAR VIEW CONFIGURATION
In this section, you can configure the way data is displayed in DASHBOARD: presentation of event types, event details, options to change data display and default color. You can configure the options separately for access rights types and structure – just select the relevant tab located under the section header.

EDITORS / READERS FIELS
This section defines the user’s basic access rights to their own documents.
FORCING/PERSONAL IDENTITY NUMBER VALIDATION/ID CARD
The section describes how the data in the “Sensitive data” section is to be validated and which employee identifiers (pesel no. or passport no.) are to take part in the process of additional user authorization.
ADDITIONAL FIELDS
In this section you can define additional fields in the employee profile and employment document. You can add new fields, specify their type, and in the case of drop-down fields, define a list of values.

LIST OF POSSIBLE TABS IN THE EMPLOYEE’S SELECTION LIST
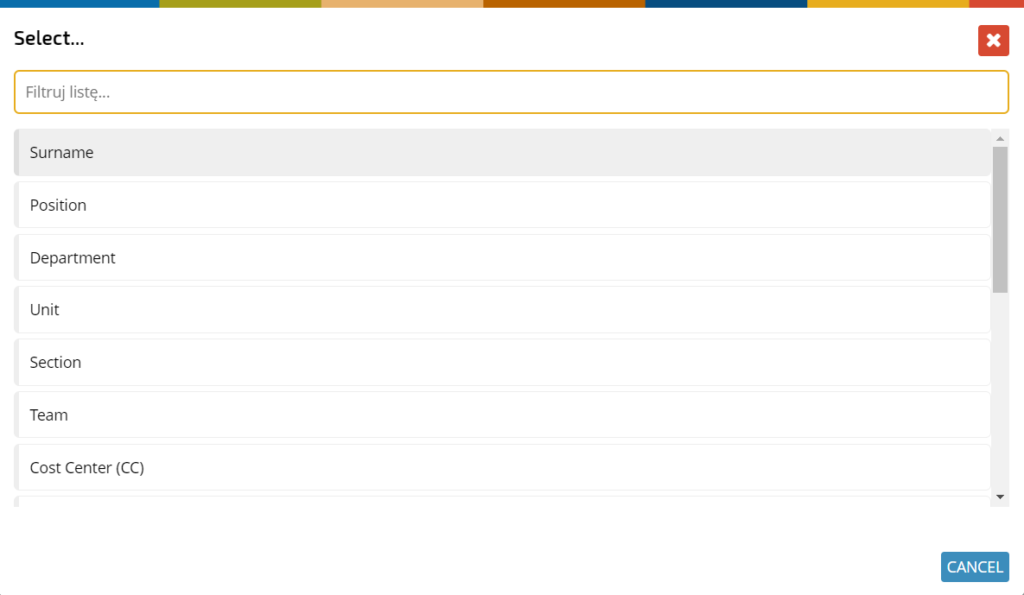
In this section you can set the tabs by which you can sort employees in their selection lists.
An example of an employee selection list:
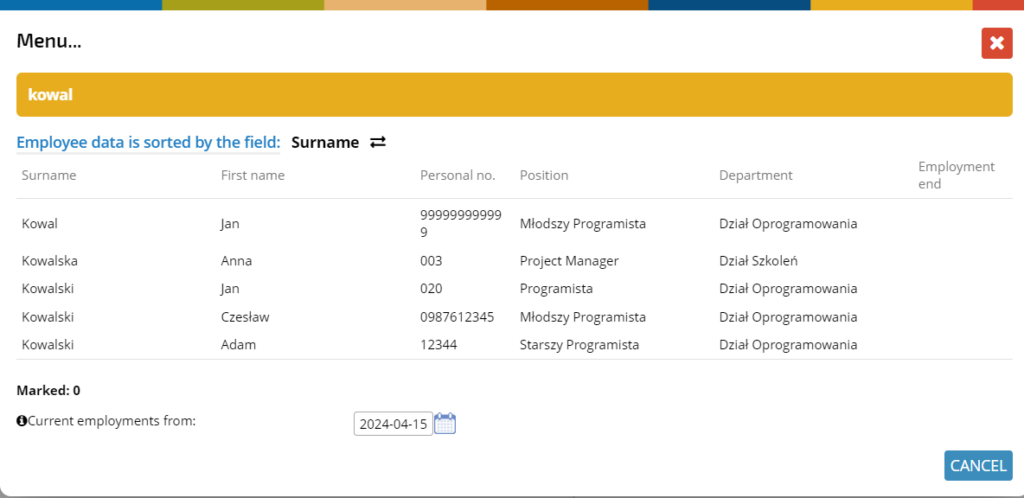
Options to sort the data in the list:
