This tab contains settings for fields in documents and forms; configuring their availability/display at various stages and their requirement before saving or sending for approval.

To make changes, start by enabling edit mode.
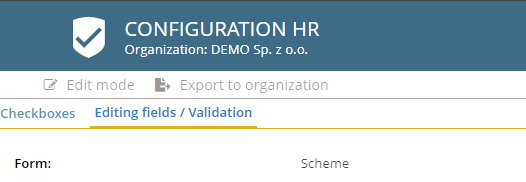
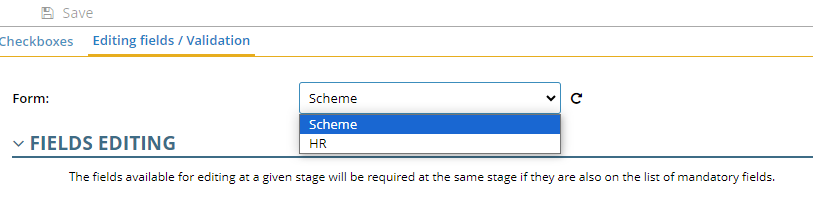
Choose in which form you want to make the change:
Scheme
HR
FIELDS EDITING
The FIELD EDITING section includes two subsections:
Form header

In the header of the form, in addition to the columns with the sequence number and field name, there are the following columns:
Unnamed column – allows you to select or deselect all fields, clicking on individual rows in this column will select the entire row.

Visible – checking the box in this column makes the headings visible on the form.

Mobile – is used to set which headings you want to see on the form in the mobile app.

Columns – marking a box in this row will make the column display by default in the ORG view.

Search – Marking a field in this column will result in a search option by this value in the search engine in ORG views.

XLS – fields checked in this column will be displayed in exports to XLS.

Before sending – is used to configure which headers will appear on the form before it is sent to the approval workflow.

The same is set in the tab ADDITIONAL FIELDS.

NAMES
The NAME tab is used to give alternative names to fields and headings in Polish and English.

To make changes, expand the list of fields (or headings) and select the relevant item.
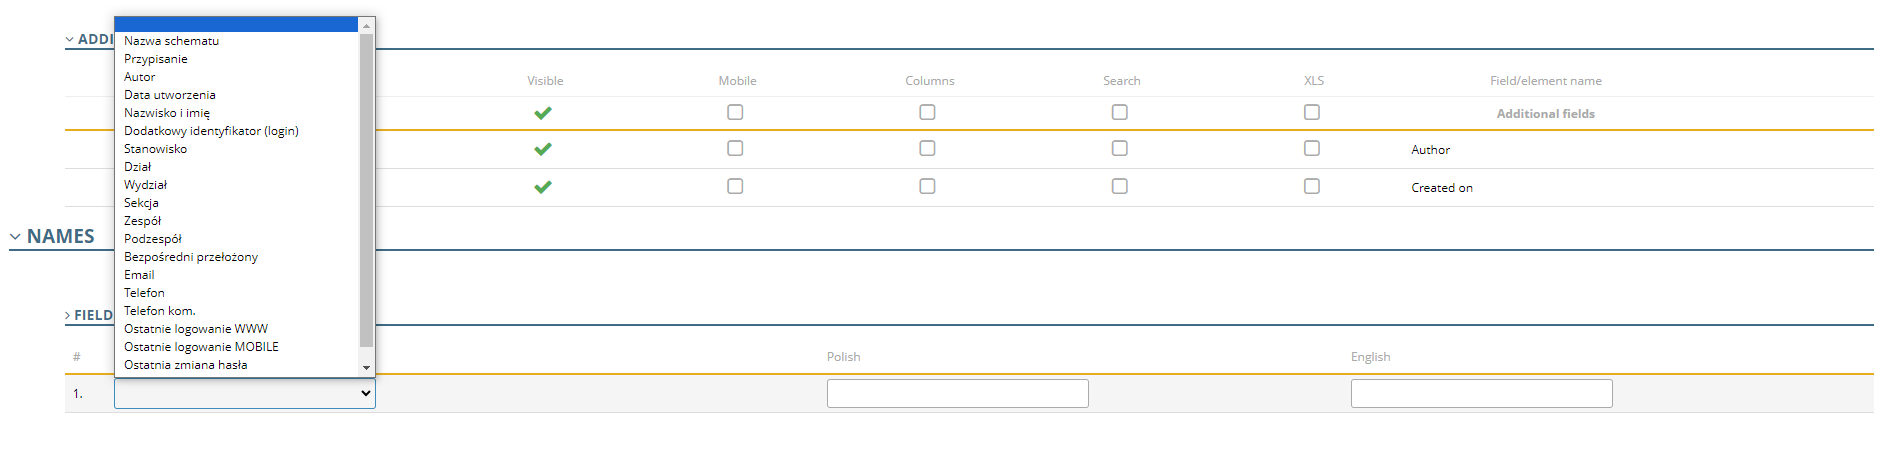
Enter your own Polish and English field name.

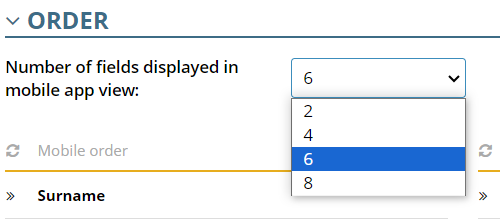
ORDER
The ORDER tab is used to set the order of fields in different modules of the application.

You can configure the number of fields displayed in the mobile app, just expand the list and select the desired number.
To change the order of the displayed fields, click on the appropriate item and drag it to a new location until DROP HERE appears.
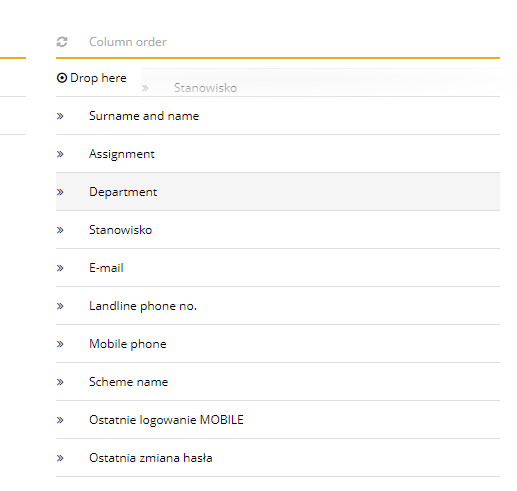
Release the mouse button – the field has been moved.
In the same way, you can change the order of fields in Access right views, search bar engine and files exported to XLS.
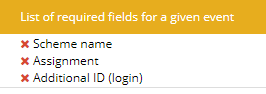
REQUIRED FIELDS
This tab is used to set field requirements before saving the document or sending it to the approval workflow.
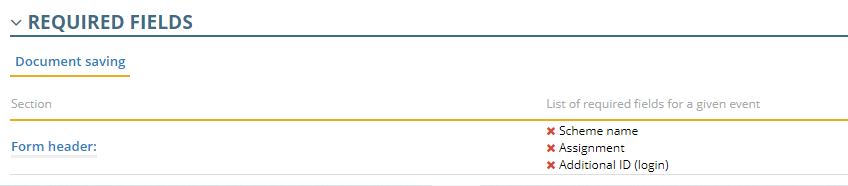
Click on the FORM HEADER.

In the displayed list, select the relevant fields and confirm with OK button.
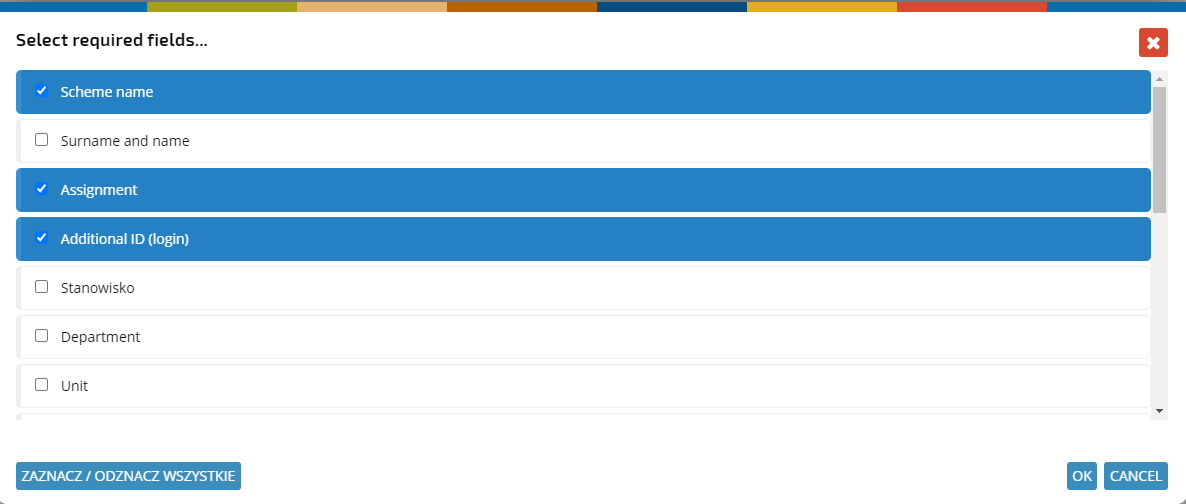
If you just want to remove any of the fields, click the “x” button.