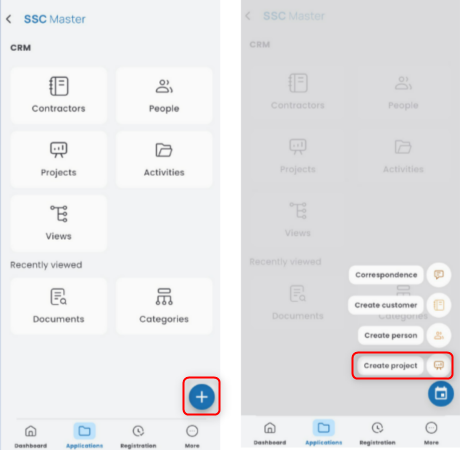
To create a new project, open the CONTRACTORS app, press the “+” button, and select CREATE PROJECT.
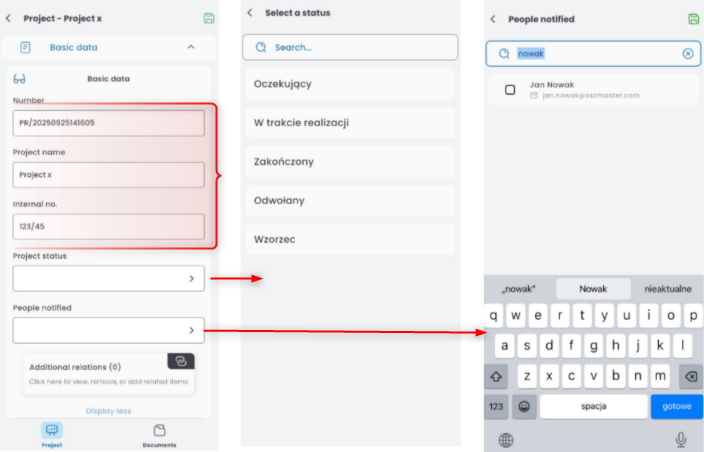
Search for and select the contractor that the project will concern.

In the basic information section, enter the project number, name, and internal number. You can set the status and specify a person to be notified.
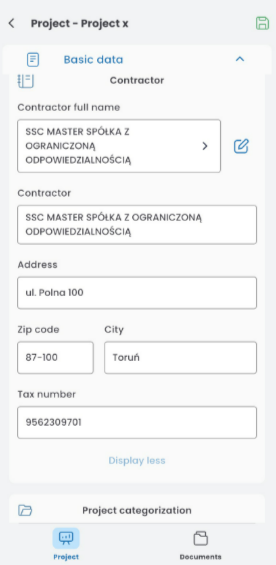
The contractor’s data will be automatically filled in, but you can edit it.
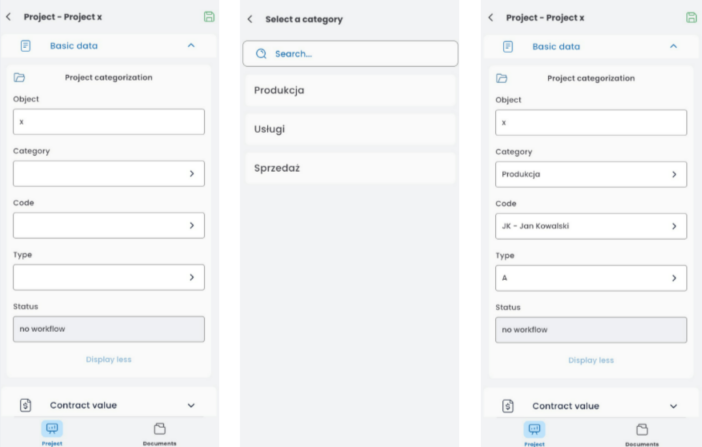
In the categorization section, enter the object name, and from the list (click the field), select the category, code, and type.
To enter the contract value, press +ADD VALUE. If no values have been entered before, click +ADD FIRST VALUE. In the Value Card, enter the net value, VAT rate, and select the currency. The VAT and gross values will be filled in automatically. To add the next item, click the “+” button in the top right corner, the disk icon to save, or the trash can to delete. After saving, the values will be added to the summary.

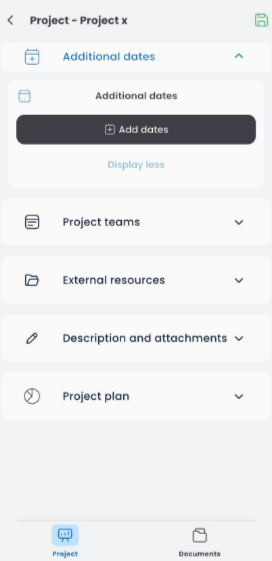
To add additional dates, press +ADD DATES.
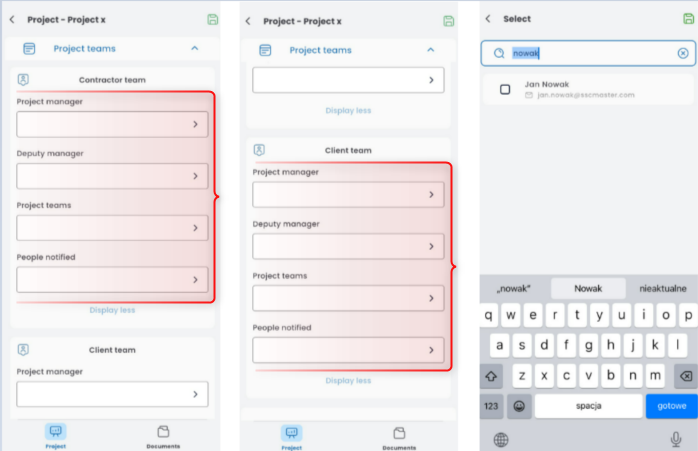
Select from the list the people from both the contractor’s and client’s teams. Click the field and choose the person from the displayed list.
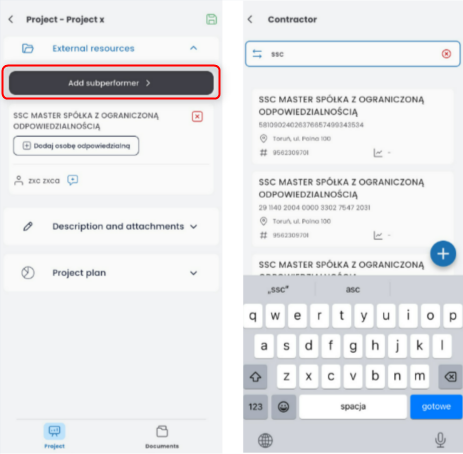
In the external resources section, you can add a subcontractor.
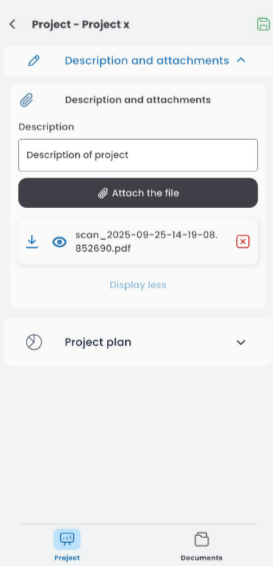
You can add a description and an attachment.
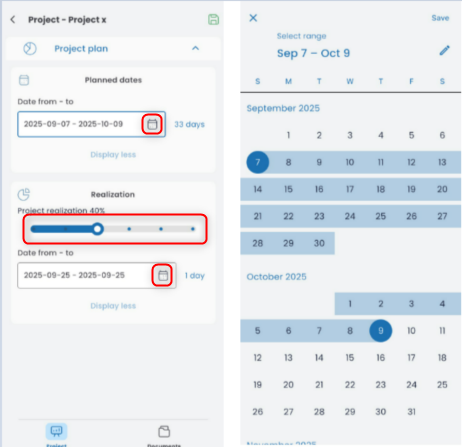
In the project plan, you can set the planned duration and mark the actual period. Click the calendar icon and select “from – to”. To mark the completion percentage, move the slider.
To save the project document, click the disk icon.
