Video tutorial:
OVERTIME
To create an overtime request, go to the LABOR application, click the “+” button, and select LABOR REQUEST.
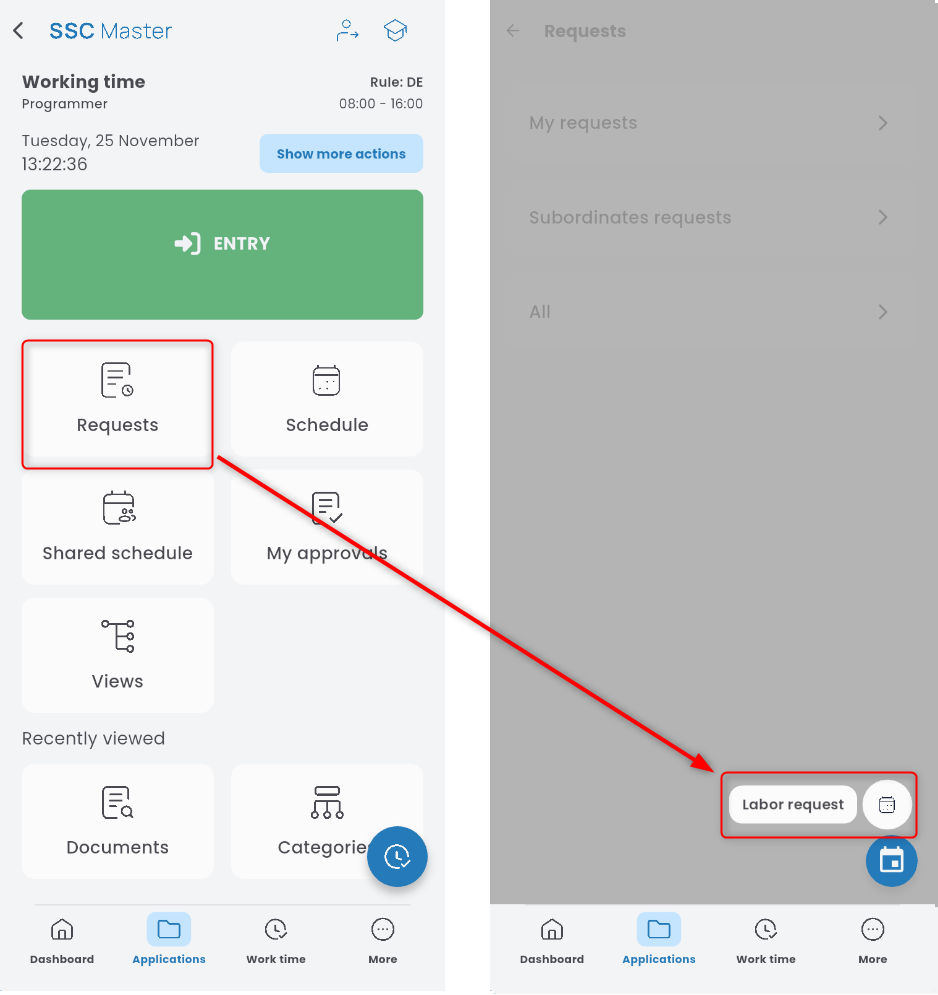
From the list, choose Overtime request.

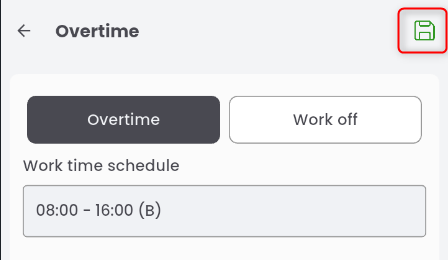
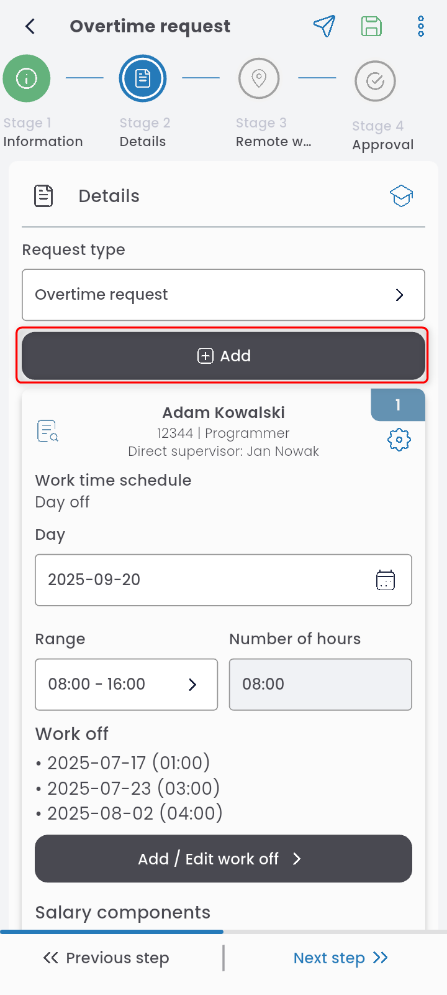
Stay in the OVERTIME tab and select the date range.

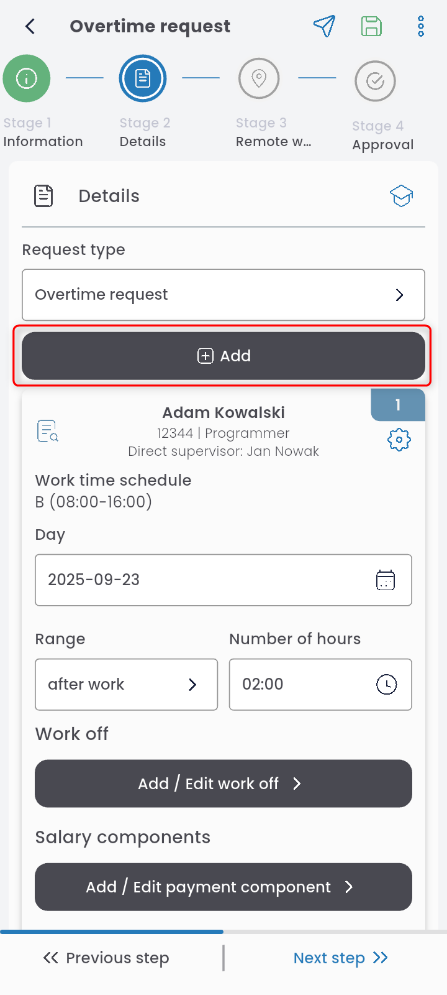
If you want the overtime to be attached to your scheduled working hours, select the TIME RANGES option. Indicate whether the overtime should be performed before or after regular working hours, and specify the number of hours.

If you want to request overtime for specific hours, select the SELECTED HOURS option and enter the start and end time.

Save the completed overtime entry using the disk icon.
To add another row, click ADD and repeat the previous steps.
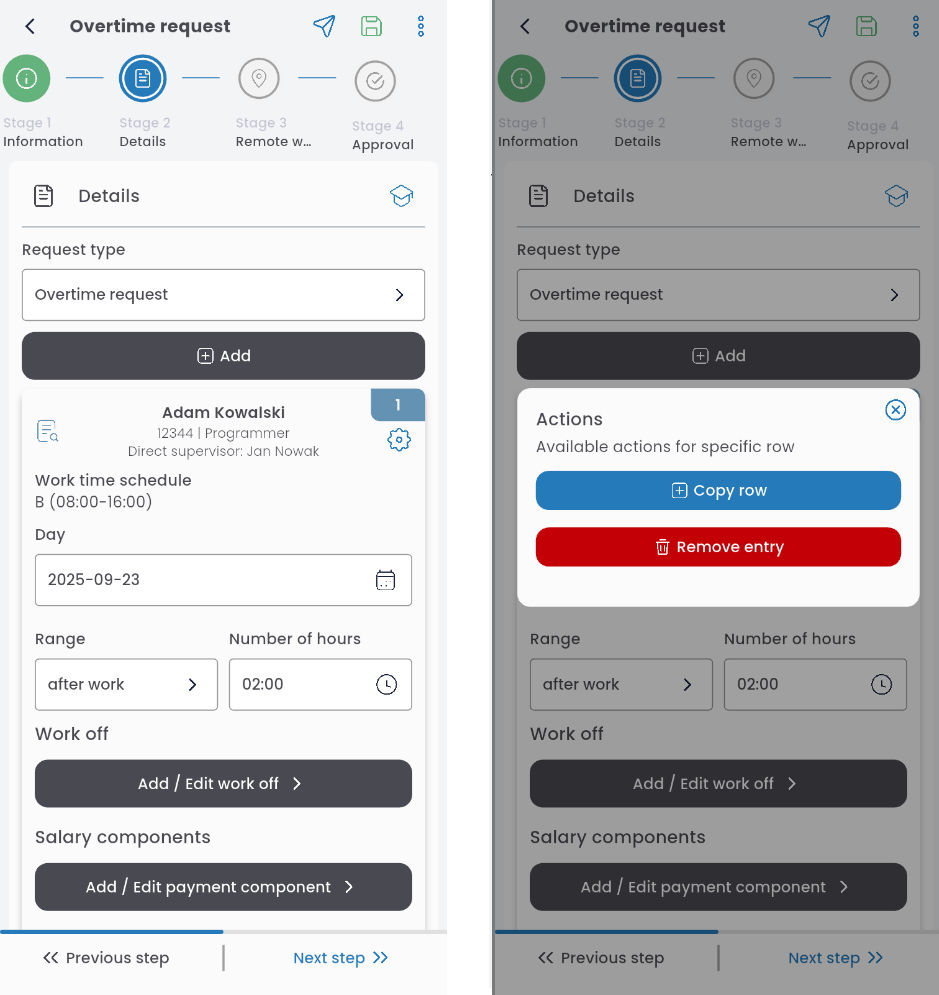
Click the gear icon to copy or delete a row.
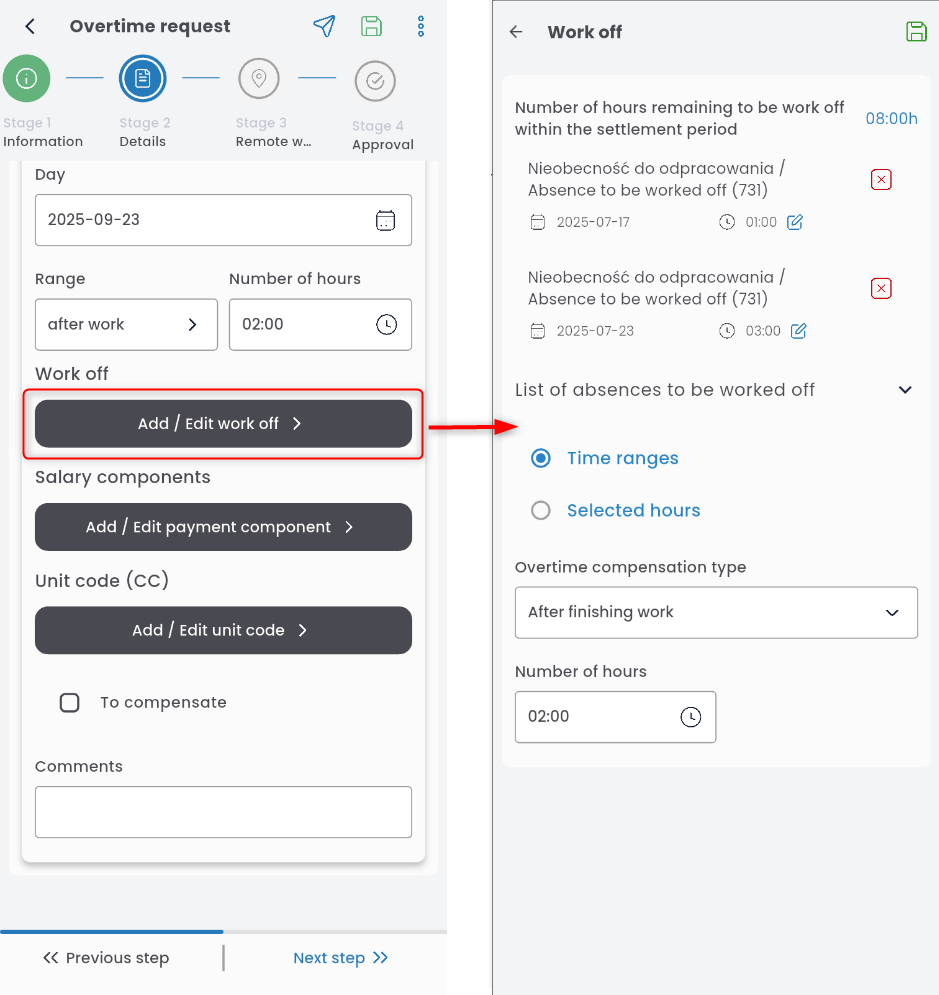
If you want to mark overtime as make-up time (compensating for previous underwork), click ADD / EDIT WORK OFF, select the absence to be made up for, and save using the disk icon.
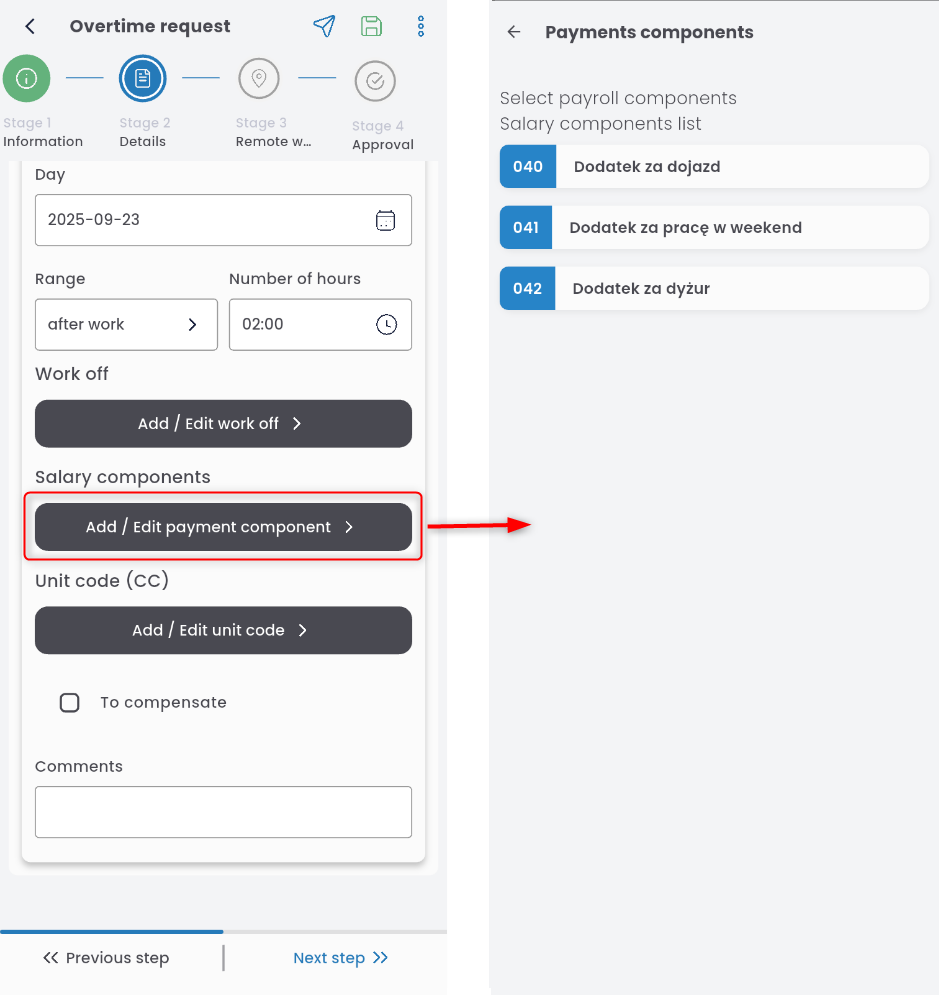
To add a payroll component to the overtime, click ADD / EDIT PAYMENT COMPONENT, select the component from the list, and save.
If needed, you can mark the overtime as TO COMPENSATE (as time off instead of pay) and add a comment.

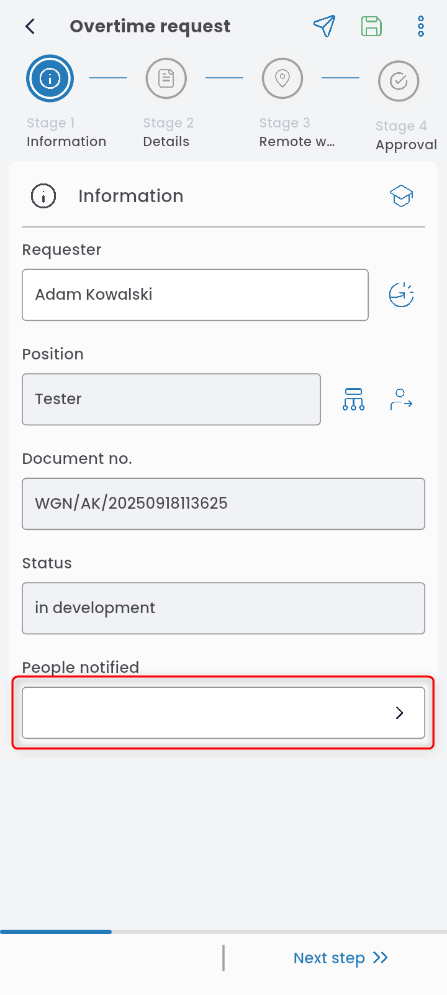
In the INFORMATION tab, you can enter a person to be notified. Click the PEOPLE NOTIFIED field and select individuals from the list.

Go to the APPROVAL tab. If the decision-maker field is not filled automatically, click EDIT LEVEL and choose the appropriate person.
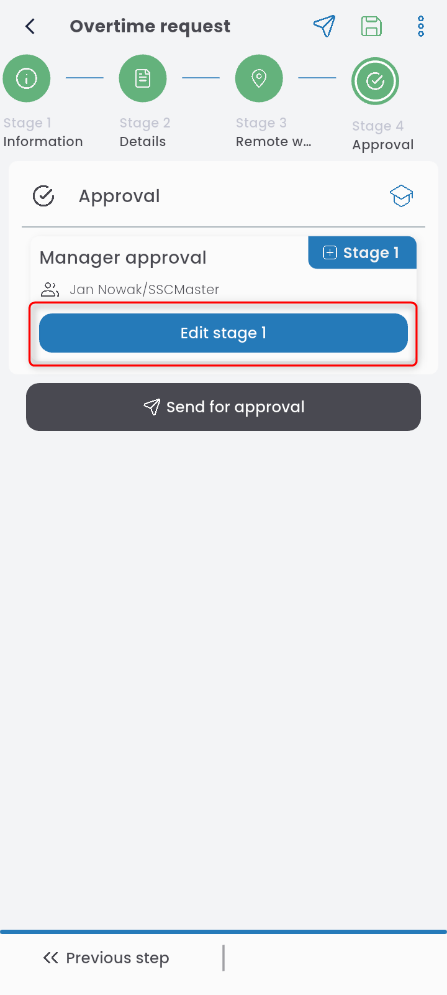
Send the completed request for approval.

WORK OFF
To create a WORK OFF time request, go to the LABOR application, click the “+” button, and select LABOR REQUEST.

From the list, choose Overtime request
Go to the WORK OFF tab and select the absence you wish to work off.

Choose the date on which you plan to make up the time.
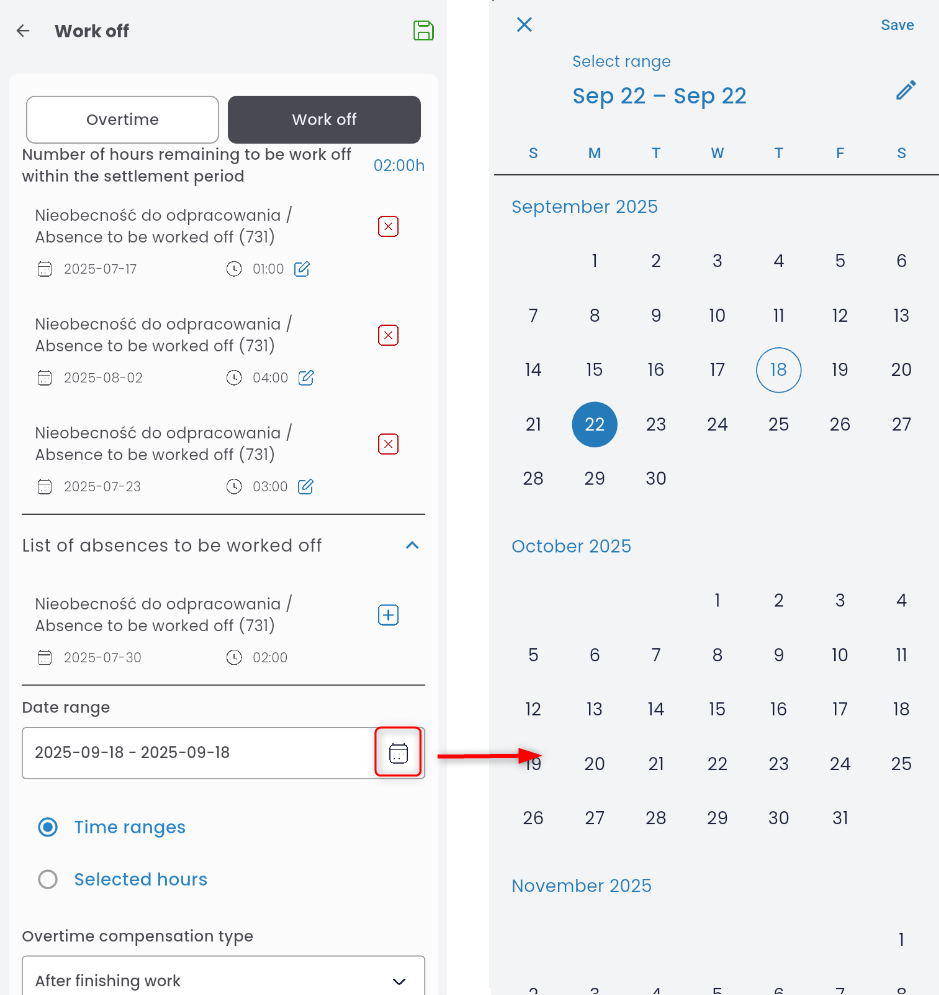
If you want the make-up time to be attached to your scheduled working hours, select the TIME RANGES option. Indicate whether the time will be worked before or after the regular shift, and specify the number of hours (if you don’t want to make up the full absence at once).

If you want to work during specific hours, select the SELECTED HOURS option and enter the start and end time.

Save the completed make-up entry using the disk icon.

To add another row, click ADD and repeat the steps above.
Click the gear icon to copy or delete a row.

To add a payroll component to the make-up time, click ADD / EDIT PAYMENT COMPONENT, select it from the list, and save.
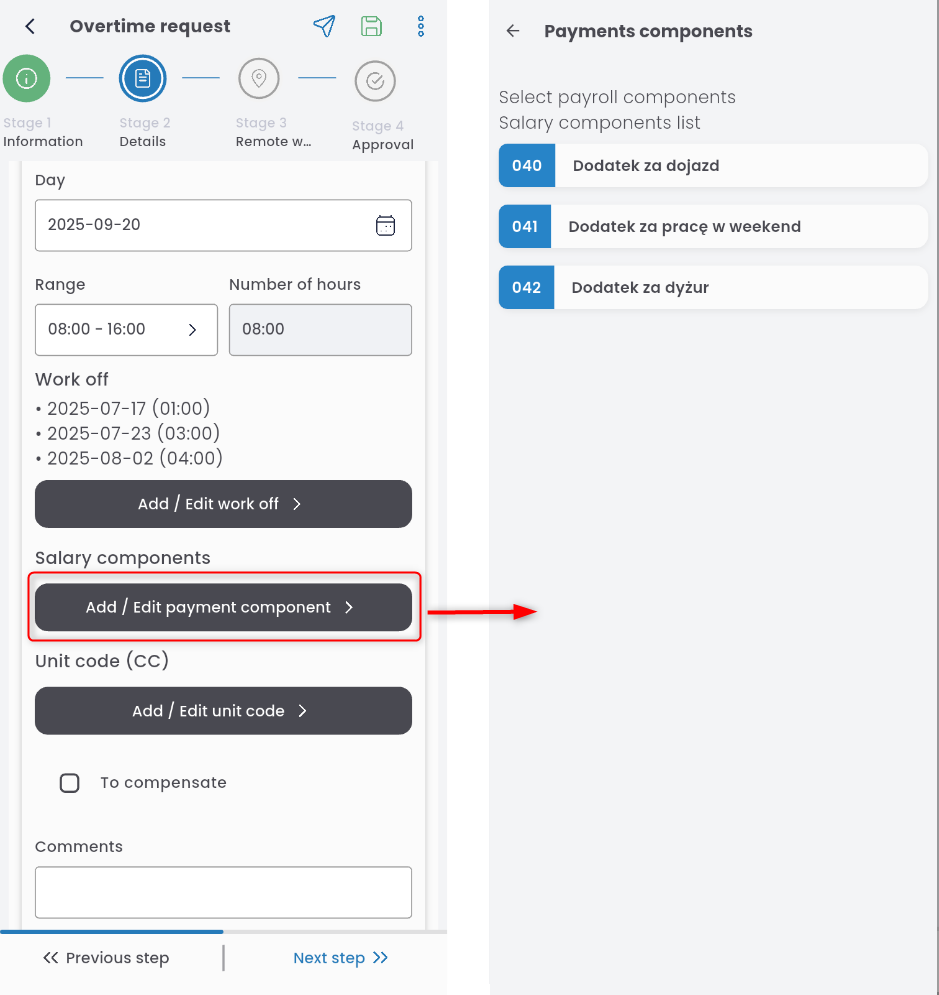
You can also add an VV (cost center) code. Click ADD / EDIT UNIT CODE and select the appropriate one.

In the INFORMATION tab, you can add a person to be notified. Click the PEOPLE NOTIFIED field and choose from the list.
Go to the APPROVAL tab. If not filled in automatically, click EDIT LEVEL and select the decision-maker.
Send the completed request for approval.