Video tutorial:
An approved request can be found in the BUSINESS TRIPS section, under the FOR SETTLEMENT tab. To settle the business trip, click on the selected document entry.

Enable edit mode.

In the RANGE tab, you can change the BUSINESS TRIP PURPOSE. Click the field and remove the current value to display a list of purposes, or enter your own.
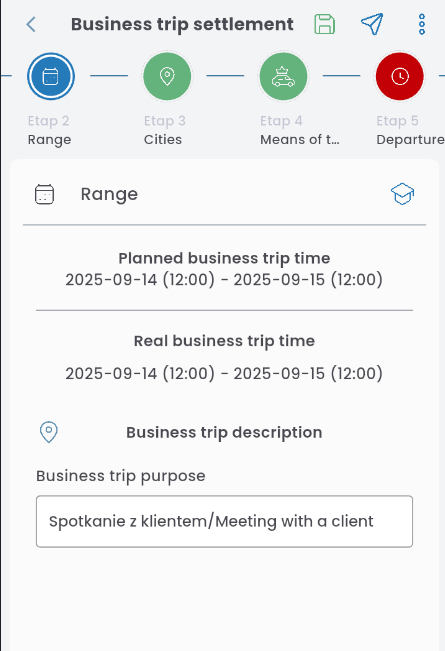
If needed, you can edit locations, currencies, and means of transport by clicking EDIT next to the section name and adding or removing locations, as described in the article Business Trip Request Wizard.

In the DEPARTURE TIME tab, fill in the individual legs of the trip. Click EDIT.

For each leg, select the mode of transportation and enter the departure and arrival times between locations. Additionally, in the first leg, enter the departure location, and in the last leg, the return location.

If you select a means of transport involving a border crossing, fill in the border town, date, and time of the crossing.

If necessary, you can add a location. Click the “+” button

and specify whether the location should be added at the beginning or end of the list.

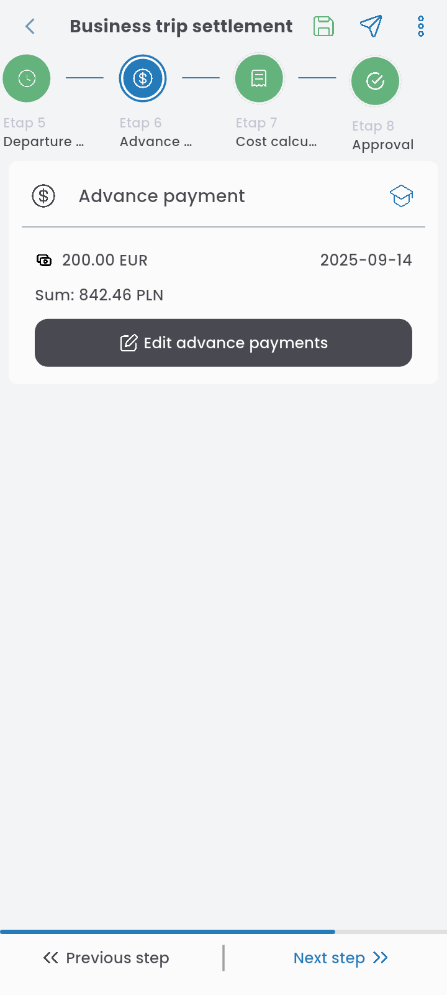
In the ADVANCE PAYMENT tab, you can edit the advance, as described in the article: Business Trip Request Wizard.
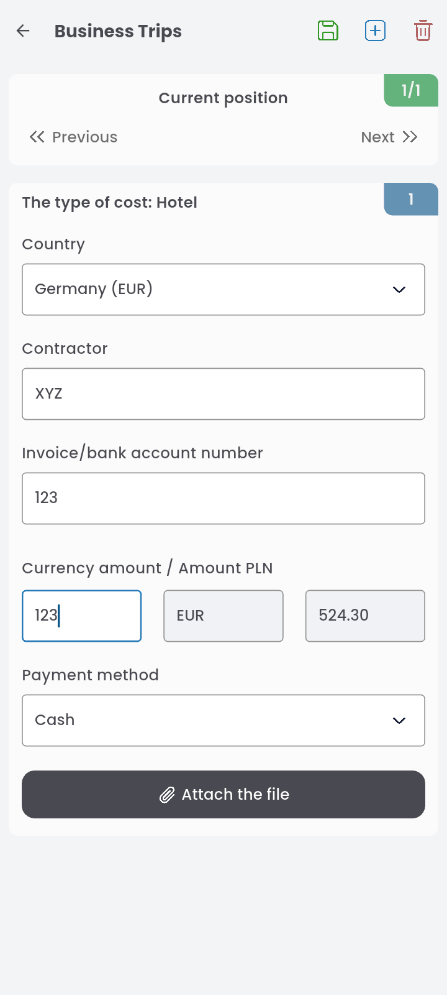
In the COST CALCULATION section, you can add all expenses related to the business trip (e.g., vehicle mileage record, overnight allowance, toll fees, etc.). To add an expense, click EDIT COSTS, then the plus (+) button in the top-right corner, and select the cost type from the list.

For the selected cost, fill in the required details.
Learn more in the articles:
Fill in the approval path (if not automatically filled), and send the completed business trip request for approval.
