Depending on access rights each user can view their own and their coworkers’ schedules. They allow for individual configuration of the availability of specific people’s schedules. If needed, visibility of elements such as work time plans, real-time tracking, time records, absence codes, work types, and alerts can also be configured.
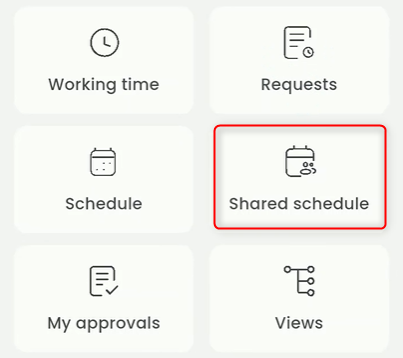
To enable the schedule view, open the WORK TIME application and select the SHARED SCHEDULE tile.
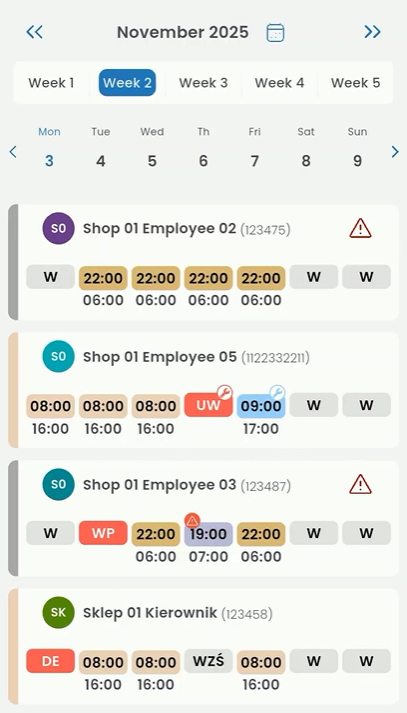
Shared schedules automatically open in the weekly view mode.
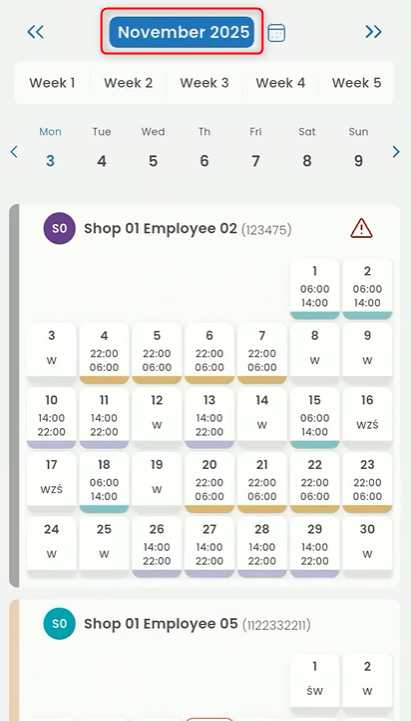
If you want to switch to the weekly mode, click the month name:
To change to the daily view, click on a specific day in the days row.

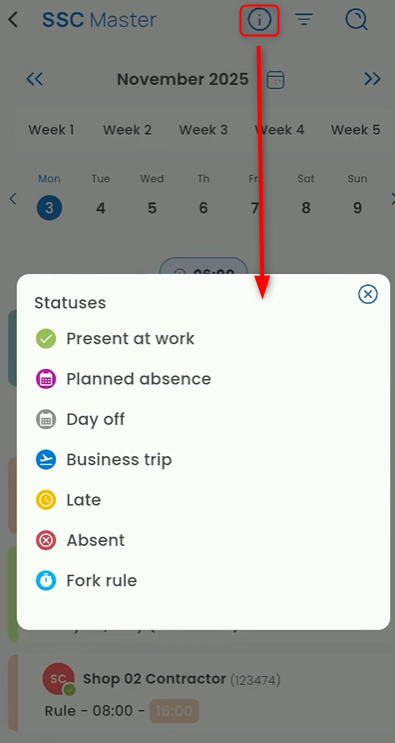
In the daily view, each employee has statuses (these apply only to the current and previous days). You can find the legend of statuses by clicking the “i” button in the top panel.
To modify how the data is displayed (by category, data range, source, and format), click the triangle icon in the top panel. This will open the settings panel.
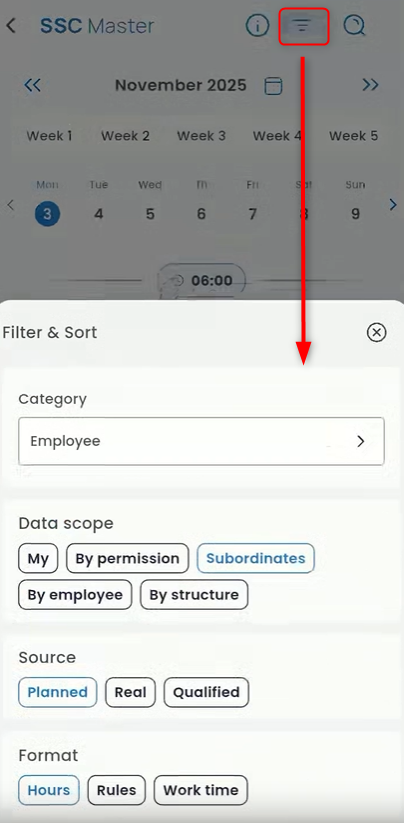
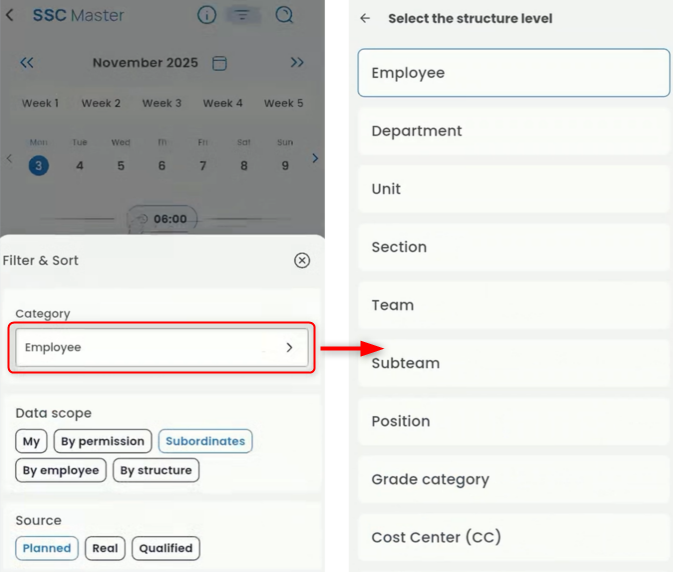
Click Category List to display the list where you can choose how employees should be grouped based on specific data.
The DATA RANGE section allows you to set whose schedules will be displayed.

My – your schedules
By permissions – schedules you have access to according to the permission scheme
Subordinates – schedules of your subordinates
By employees – schedules of employees you have access to according to your permission scheme. You can select all available employees or only specific ones.
By structure – schedules
In the SOURCE section, you can choose which hours will be displayed in the schedule tiles.

Planned – hours according to work time rules
Real – hours between clock-in and clock-out
Qualified – hours that have been registered
In the FORMAT section, you can choose which values will appear in the tiles.

Hours – start and end times
Rules – work time rules
Work time – number of hours worked
To display a month other than the current one, click the calendar icon and select the month.
