Dashboard:
Click RELATED DOCUMENT in the CREATE DOCUMENT section in the MY DOCUMENTS module. This will create a document for yourself (the logged-in user).
Employee profile:
Open the ORG application and find the employee profile.
Enable the DOCUMENT DETAILS tab and click the CREATE button.
ORG views:
Select the ORG application and go to the DOCUMENTS view.
Click CREATE DOCUMENT and select the appropriate employee and document type.
You can also select an existing document from the list and click CREATE DOCUMENT to add another document to a specific profile.
Steps:
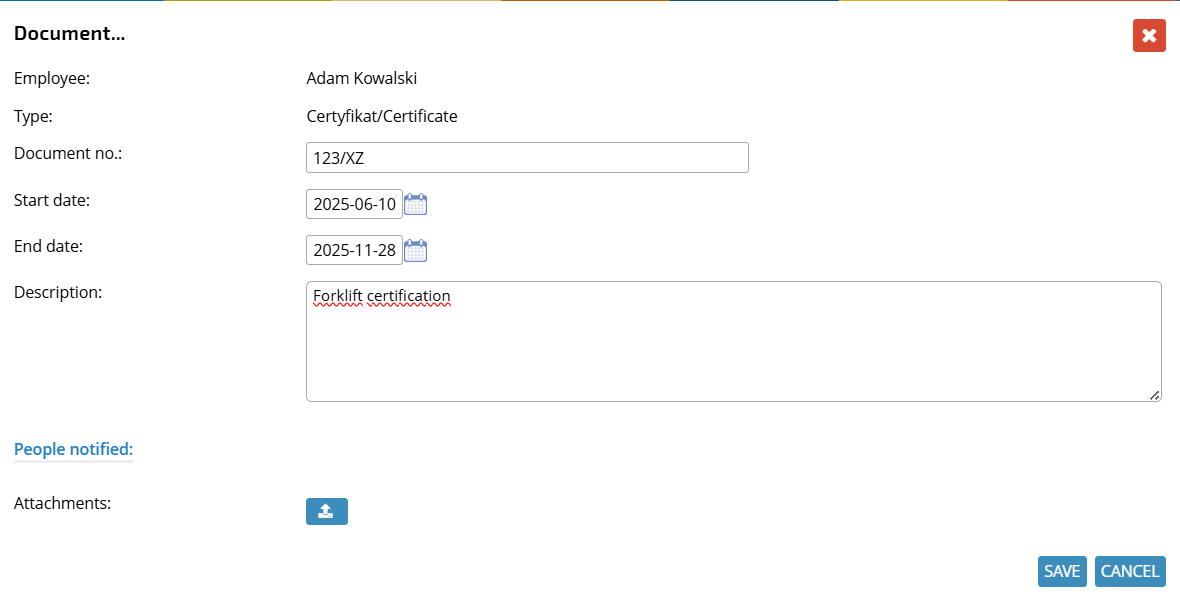
– Specify the employment the document should be related to
– Enter the number according to company guidelines, e.g., a sequential number and creation date.
– Specify the start date and end date, e.g., for medical exams provide the exam date and the validity date of the certificate.
– Add additional information in the Description field.
– Add people who should have access to the document by clicking the appropriate button and selecting people from the list.
– Add files as attachments by clicking ADD ATTACHMENT and selecting the appropriate file. If attachment encryption is enabled, PDF files will be password-protected (PESEL or passport number).
– Save or publish the document: Share it for preview and approval. Confirm the intention to publish. The employee will receive an email notification about the created document.